Ardha Ekapada Rajakapotasana: step-by-step of the Pigeon Pose

The full pose of Ardha Ekapada Rajakapotasana is a suitable asana for intermediate yogis. Besides that, everyone can do this pose with the necessary variations, and take advantage of its benefits.
Also called the Pigeon Pose, there are at least four variations of this pose, each one being increasingly difficult. The important is always to keep your own body-safe, instead of trying to go all the way through it.
Ardha Ekapada Rajakapotasana is a sitting asana, which focuses especially on legs and hips flexibility, also offers a wide range of other benefits, both spiritual and physical. Keep reading and find out how can you do this pose.
Ardha Ekapada Rajakapotasana explained
In this article, we start by exploring some possibilities for Ardha Ekapada Rajakapotasana, with a progressive step-by-step that should only be followed until the end in case you have the physical conditions. Remember, that the first step is always to respect your own body.

Ardha Ekapada Rajakapotasana, step-by-step
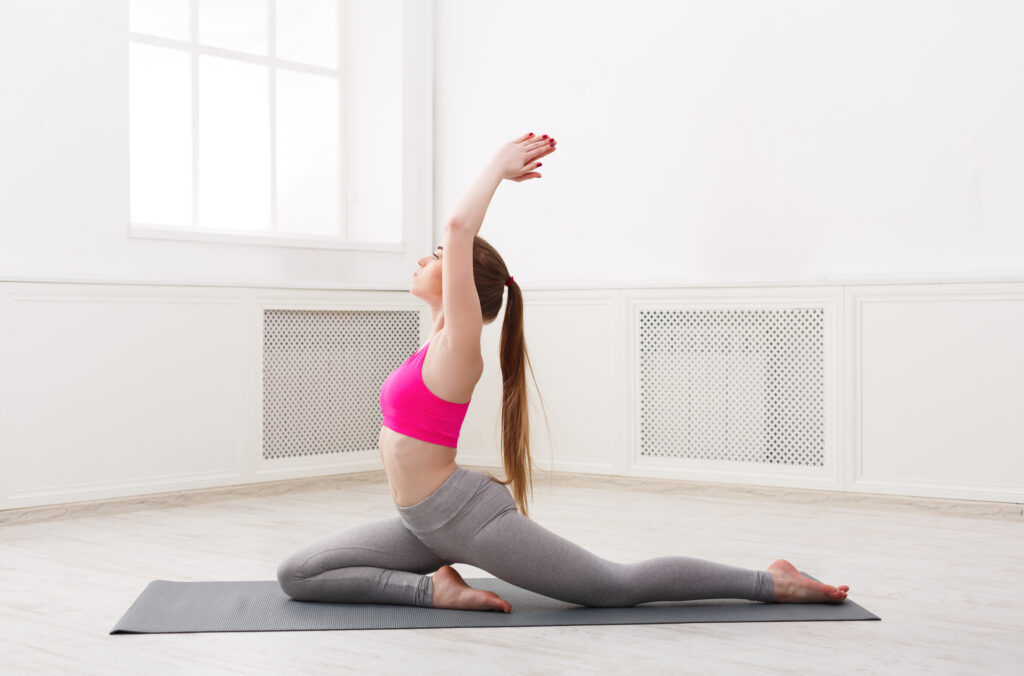
1. Start in Adho Muka Svanasana (there are other possible options). Inhale and raise the right leg. As you exhale, bring the right knee next to the right wrist and the foot as close as possible to the left wrist.
2. Make sure the left leg is straight on the floor. Keep the weight of your body more on the left side, otherwise, you’ll be sitting on the right glute and not focusing on the muscles required for this pose.
3. In case you have any spine problems, lean forward and keep your head resting on your hands.
4. After a few breaths in this position, which will help you get deeper in the pose bring your hands to the floor, inhale and bring your torso in a vertical position.
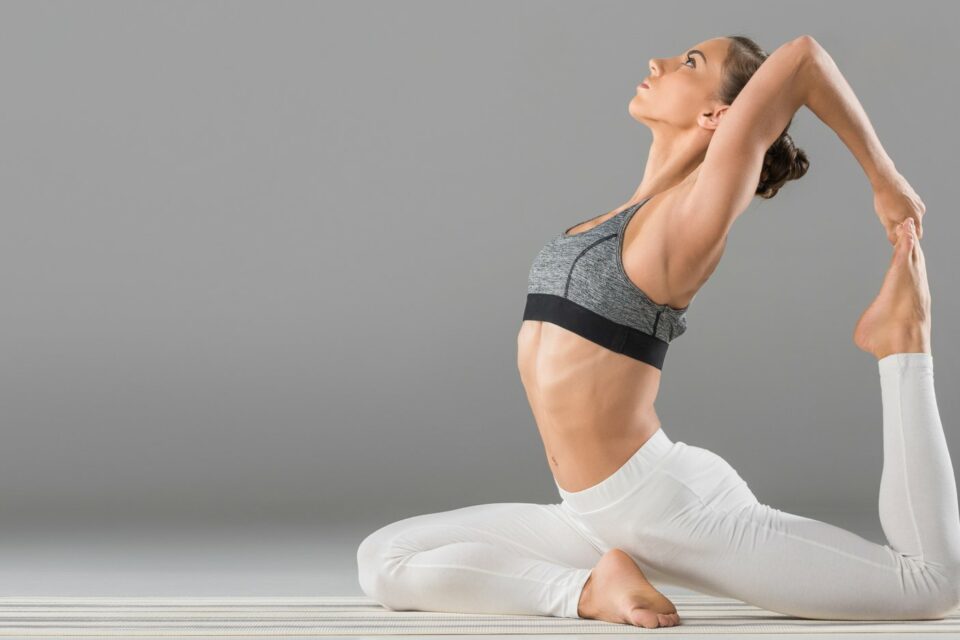
5. Advanced 1: If you can maintain this position without needing your hands on the floor as support, bend your left leg from the knee and place your foot on the left inside part of the elbow. In this position, bring the right arm from above, bending it from the elbow and grab your hands. Keep the pose in this step for a few breaths.
6. Advanced 2: (Very few people should continue in the following steps, if you do, make sure you do it in safety). If you still feel comfortable and with space in your body, release the hands and the leg and inhale as you open and lift your chest. Keeping the neck strong and not allowing the back of the neck to shorten, drop back your head. Keep opening your chest by pushing the top of your sternum straight up.
7. Lift your arms up and back, grasping your foot with both hands. Keep the belly in, and your inner thighs against each other.
8. Slowly, release the hands, bring the foot back on the floor. Press your hands against the floor while you exhale and go back to Adho Muka Svanasana.
9. Repeat to the other side.
Either you are a more or less experienced yoga practitioner, this pose always needs some time. That means you shouldn’t jump right to the last phase, even if you have done it a thousand times before. Give time to your body to adjust, to open and to gain more space. With this in mind, add the Pigeon Pose to your sequence and enjoy it!
You may also like:
- Yoga: the ultimate guide for types and benefits
- Chaturanga dandasana: learn this pose in 5 steps
- Utkatasana: how to sit in the Chair Pose and its benefits
- Yoga poses for beginners: the gateway to a regular practice

