The 5 best yoga poses for men

Here you’ll find the best yoga poses for men, sequenced and explained.
Did you know yoga was an only-male practice in its origins? Despite that, nowadays in the Western world, we are still judgemental about male yoga practice. There is a prejudice that yoga is for women, that it’s all about moving slowly and breathe. And that’s how we know the ones who say it, have never tried it!
Receive all our tips by email!
Love Astrology? Subscribe Now and Receive Exclusive Content!
Do you share this opinion? Then we want to explain to you something more about you. Keep reading and find out why you should also be doing. To add on, discover the best yoga poses for men!
Best yoga poses for men: why should you try it?
Before finding out the best poses for men, we want to dissolve some myths and tell you why you should give yoga a try.
If you think yoga is too slow, or too easy, we definitely invite you to try an Ashtanga practice! Why? In one class you would break all those pre-established opinions since it’s one of the hardest and fastest practices of them all. But you don’t need to go to an Ashtanga practice to find out that yoga is way more than moving slowly and breathing.
Another common idea is that yoga is all about flexibility. It couldn’t be farther from the truth. If it’s true that yoga focuses a lot on flexibility, strength is also at the core of the practice. Well, it’s a different approach from the one you do at the gym using weights. Despite that, and the fact that the results take longer to show up, it’s also known that they last much longer.
Above all that, yoga has a lot of benefits! Although in its essence yoga not a complement to others’ practice, you can use it as such. It will improve body capacities, especially because it produces balance. Will help you with injuries and promotes calm and peace.
Best yoga poses for men
Our suggestion of the best yoga poses for men is based taking into consideration a vast majority of men experience tightness, particularly in the hips, hamstrings, and shoulders. If that is not your case, you can look for other practices that are suited for your body characteristics.
Surya Namaskar A

Surya Namaskar, or the Sun Salutation, is one of the most known yoga sequences, used by different schools in its multiple variations. The present sequence is so complete, that it works all the essentials.
On the physical level, Surya Namaskar develops the muscles of the body and promotes the stretching, not only on the peripheral regions of the body but also on your torso. It promotes the mobility of your joints, massages the internal organs, and stimulates the breathing and blood cardio-circulatory systems.
Each asana (pose) corresponding to one breathing.
Here you have ones of the most common ways of doing Surya Namaskar:
- Tadasana – standing, with your feet together and your back straight.
- Urdhva Hastasana – inhale and raise your arms, while keeping your shoulders down.
- Uttanasana – exhale and bend forward, if necessary bend your knees and keep the top of your fingers touching the ground.
- Ardha Uttanasana – inhale and look forward, stretching your back like a table.
- Phalakasana – exhale and enter the plank pose. Inhale in the position.
- Chaturanga – exhale and lower your body, without touching the floor, like a low plank.
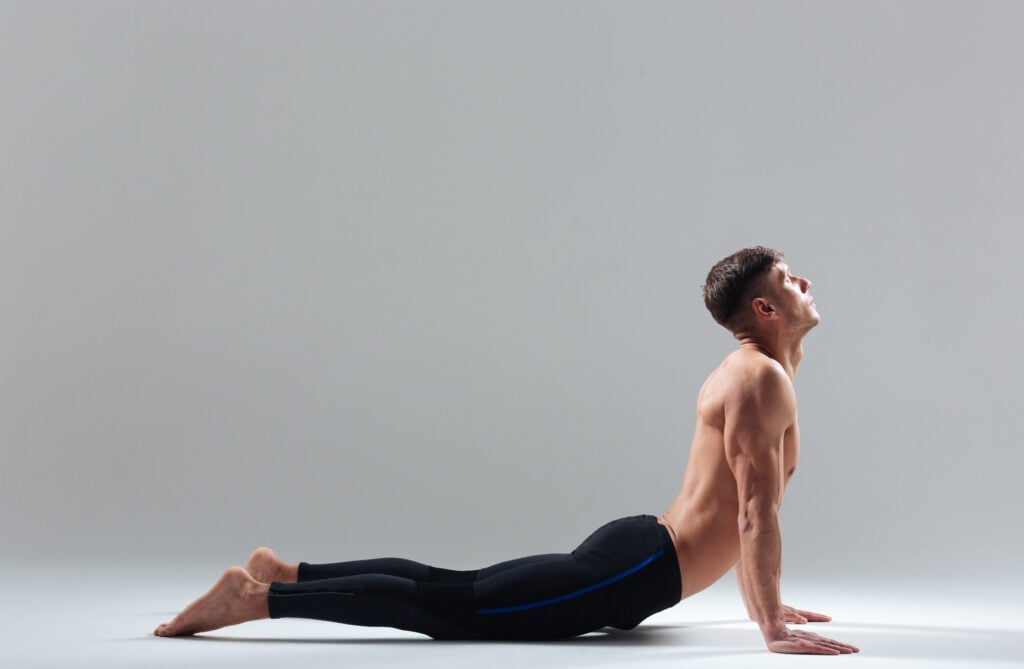
- Urdhva Mukha Svanasana – inhale and open your chest forward while stretching your arms.
- Adho Mukha Svanasana – exhale and bring your hips up pressing your hands forward. Stay for 3 cycles of breathing.
- Ardha Uttanasana – inhale and enter the pose.
- Uttanasana – exhale and lower your upper body realizing your neck.
- Urdhva Hastasana – inhale and come to a standing position raising your arms.
- Samatitih – exhale and lower your arms.
Parasarita Padotanasana C
Step back and keep your feet apart, both facing the same side and your upper body. Interlace your fingers behind your back. Inhale and look up, exhale, and bend forward. Let your hands move apart from your back, and bring your shoulder blades closer.
Malasana
Malasana brings back mobility to your hips, stretches your back, your legs, and opens your pelvis. It’s one of the most important poses to keep your digestive system working and the mobility of a healthy child.
Placing your feet hips apart, let your toes more slightly out and lower your butt as in a squat, but let it lower until your knees are completely bent. The goal is to keep your heels on the floor, so if you can’t use a mattress or a pillow to put under it. Stay in the position while breathing.
Trikonasana

Trikonasana is a classic pose, and it’s really important. It will stretch your hamstrings and your legs.
Step back and keep your feet apart. The front foot will be facing forward, while the toes from the back foot will more a little inside, creating a small angle between the two.
Keep your arms up, at your shoulders level, inhale and let your front hand more forward while your back hip backward. Exhale and let your front hand rest on your leg, and the other arm raises up. If it’s comfortable, look to your upper hand.
Stay in the position at least five breathes, and then repeat it to the other side.
Virasana with arms of Gomukasana
Sit on your heels, or if that is too hard on a block, or a pillow, places between your heels. Now raise your arms bent, and cross them bringing the elbows aligned. If that is too hard, stay there, if you still have space in your body, intertwine your arms. Take a few breathes here and change the position of the arms (the up one goes down).
The combination of these two poses will stretch your quadriceps and your shoulders.
Supta Padangusthasana
One of the best poses to stretch the hamstrings, the calves, and the glutes. You’ll need a rope to do this one.
Laying on the floor with your legs stretched on the floor, bring one knee to your chest. Place the rope below the toes, on your feet sole. While exhaling start stretching your leg. You don’t need to completely stretch it if you don’t have so much flexibility.
If you have a lot of flexibility, then bring your toes on the direction of your head. Repeat to the other side after a couple of breaths in this position.
To finish the sequence you can choose an inversion that you enjoy doing.
Embrace this practice and enjoy all the amazing benefits awaiting for you!

