A beginner’s guide to Bakasana
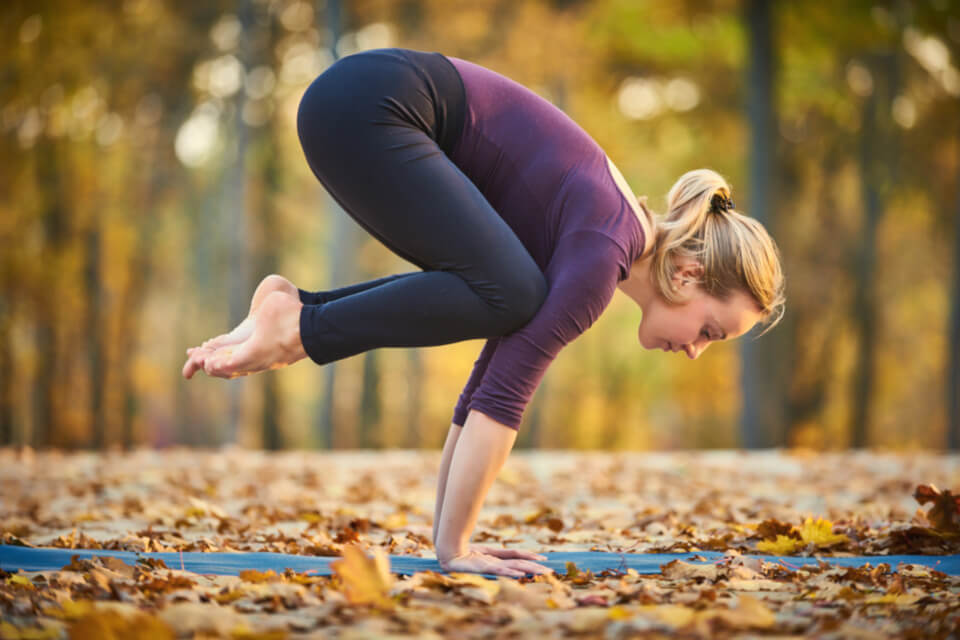
Struggling with Bakasana? This is a beginner’s guide to Bakasana to help you improve your crane pose.
The crow pose is one of those odd cases of an asana which is extremely easy to some yogis, and almost impossible to many others. Consequently, our tips can be helpful no matter how long you have been a yoga practitioner, in case you still have Bakasana left to conquer.
Receive all our tips by email!
Love Astrology? Subscribe Now and Receive Exclusive Content!
There are different strategies to enter Bakasana and to improve your confidence in this pose. It’s important to give a chance to the different possibilities since different things work better for each one of us.
Guide to Bakasana: step-by-step
Before we get into the steps of our guide to Bakasana, we want to make sure you know it’s not about being strong. This asana, as most of all, it’s essentially about teaching our muscles the path to the pose and how to stay there. It also involves a mental process of confidence, most of all. What we mean is that almost everyone has the physical capacities to perform this pose. If you struggle with it, analyze yourself to understand where the challenges come from. It will help you.
Step 1
@nicolashergosum
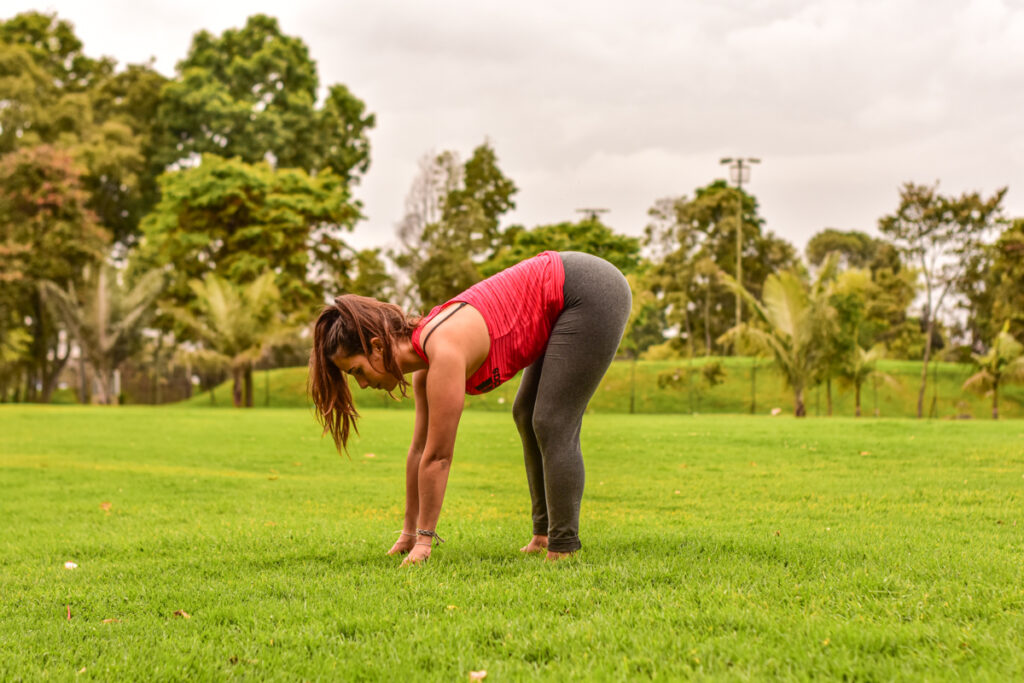
Keep your feet hip-width apart, and squat to place your hands on the floor., a hand distance or a little bit more, from your feet. If possible, stretch your legs. If that’s not possible, you might want to use a blanket to support your heels, while you stretch as much as possible.
Step 2 in Bakasana
@nicolashergosum
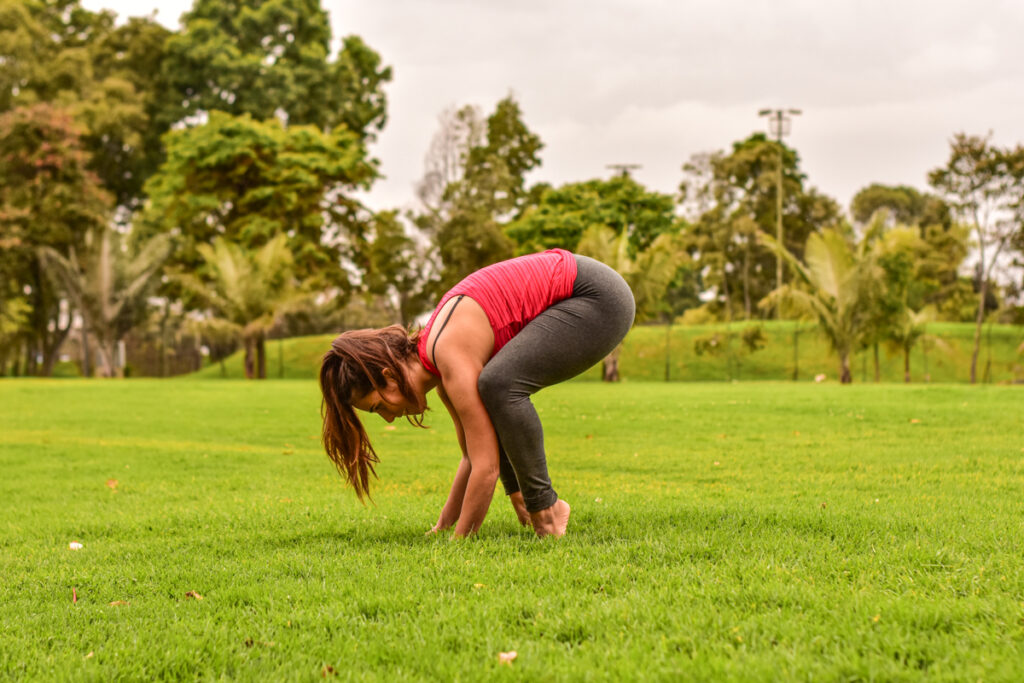
Bring your knees on your armpits, and let your elbows bend the necessary. To start, don’t raise your hips too high, it will probably result in less control over the pose.
Step 3
@nicolashergosum
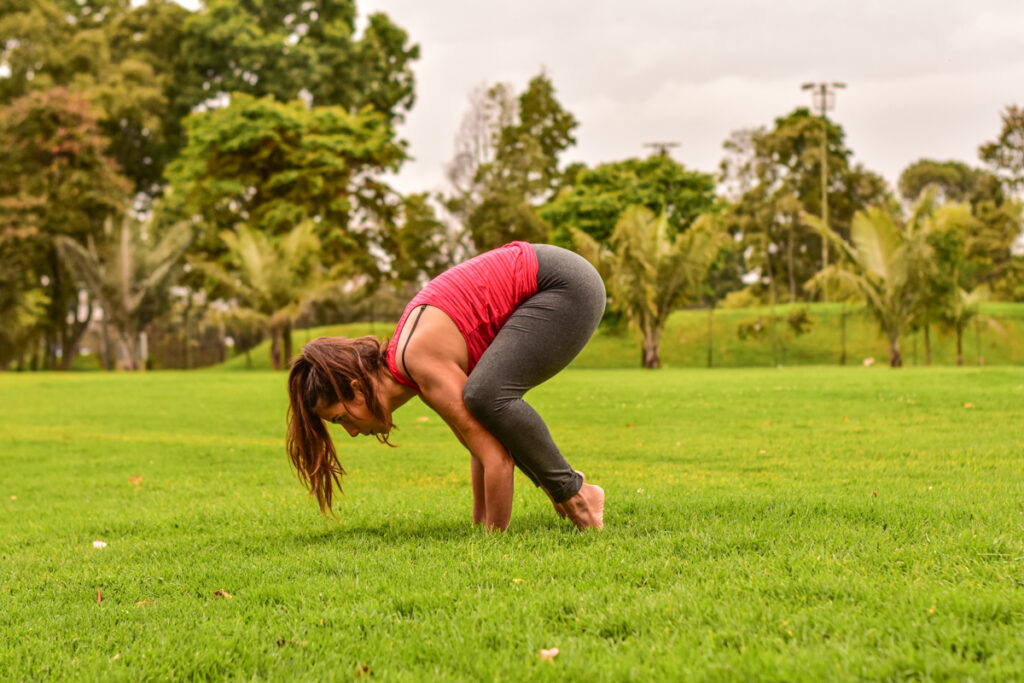
Lift onto the balls of your feet and lean a bit more forward. You want to focus on your upper body as if you wanted to stretch it forward. That is a very important action, from the crown of your head to your hips.
While doing that, take the weight of your torso onto the back of the uppers arms.
Step 4 in Bakasana
@nicolashergosum
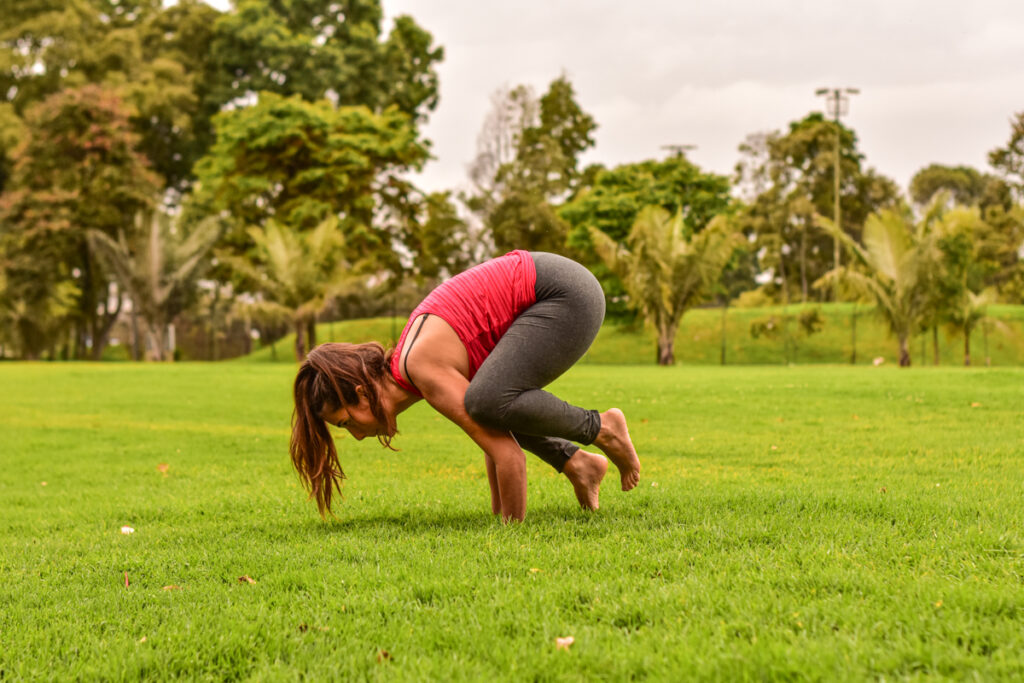
You want to lean forward even more until just your toes touch the floor. If you have enough confidence, from here take your feet away from the floor.
If you don’t, do this progression:
- Lift the right foot, and take 5 breaths
- Change and lift your left foot, taking 5 more breaths
- Try with both.
If you still don’t feel confident to raise your feet, stop where you feel comfortable and work from that point, by staying at least 5 breaths.
Tip: It’s really important to bring the action of trying to bring the legs together, from the inner tights. That will activate your abs in the perfect way to do Bakasana.
Step 5
@nicolashergosum
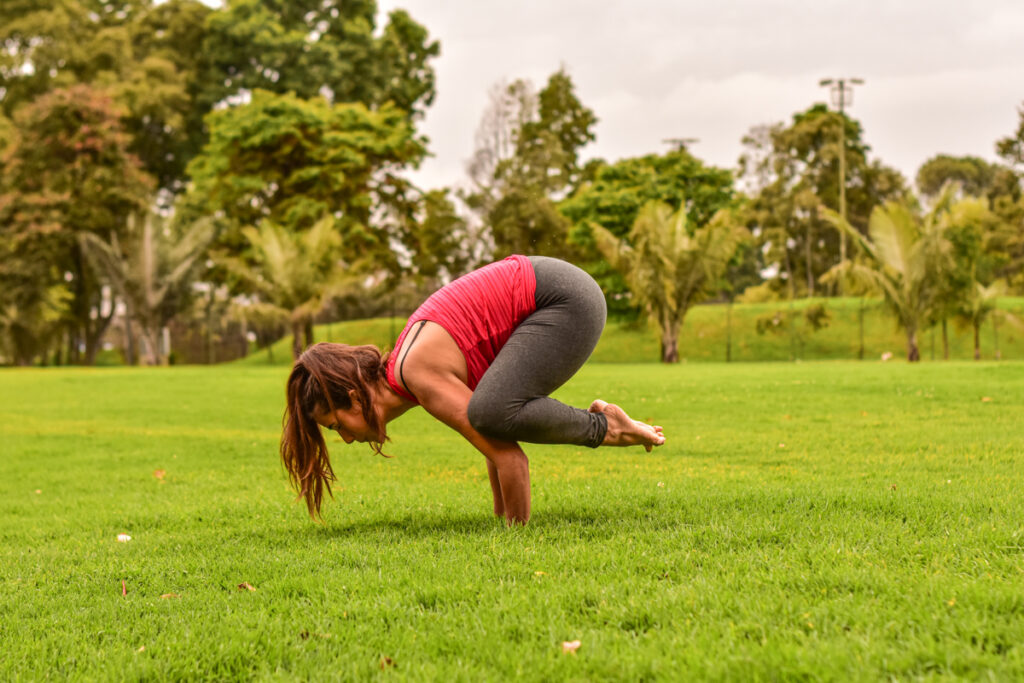
To release, slowly lower your feet while you exhale. Try to do it with control.
A guide to Bakasana: important tips
Tip 1
Reinforcing the need for keeping the action of trying to bring your inner thighs closer.
Tip 2
You need to keep all your torso as a block, from your belly to your back.
Tip 3
Distribute your weight correctly. To do that, don’t lift your hips too much when you are starting.
Tip 4
Lift your head and your chest, instead of looking down.
Tip 5
Don’t give up!
We hope this guide to Bakasana can help you improve your asana journey. Remember that it can take time, but one day you’ll achieve your goal, and most of all, your confidence in yourself will increase.
You may also like:
- The roots of Ashtanga Yoga
- How to choose a yoga teacher
- Virabhadrasana II Tutorial: step-by-step to the Warrior II

