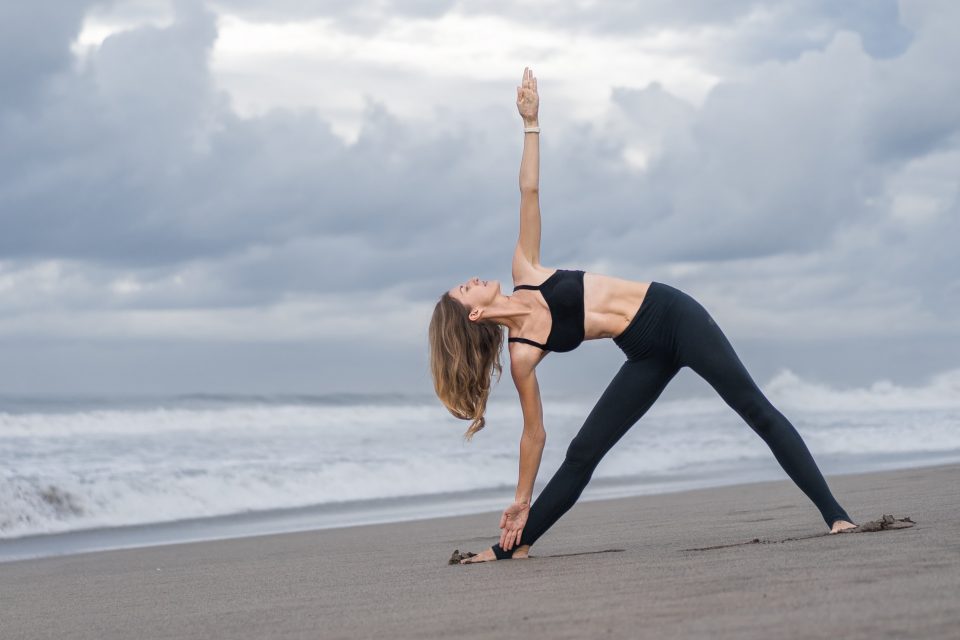
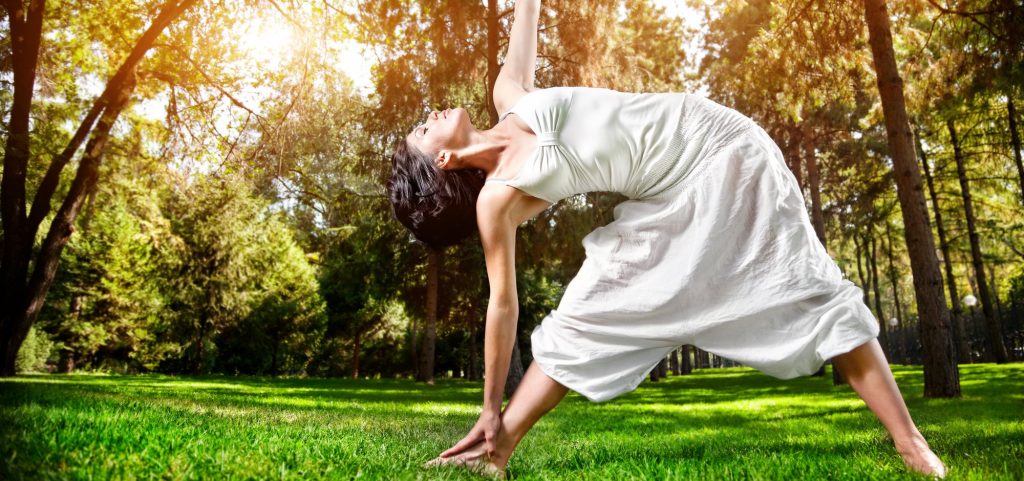
Let’s master Trikonasana? Benefits of the extended triangle pose

Trikonasana is also known as the extended triangle pose and is one of the most common standing positions, alongside the warrior’s. Although it’s common to almost all the schools of yoga and learned in the first classes, it’s definitely not a relaxed pose to truly master. The good news is, you can adapt it to your body and condition and, with time, get deeper into it.
During Utthita Trikonasana, most of us fight with balance, a lack of alignment and bad breathing habits. Our ego wants to touch the ground or grab the big toe, but Trikonasana is not about it! Actually, touching the ground makes no difference at all.
This pose is about stretching one side of the body and the front leg, aligning the torso with the front leg and opening your chest. It’s also about shoulders and neck strength and health. Are you starting to feel confused? We’ll explain everything.
The 8 steps of Trikonasana
1. Adjust your feet so that the front one is 90º out (pointing in front) and the one behind slightly inward. The front foot must be aligned with the curve or the wheel of the back foot.
2. Ground all four corners of the feet and firm the thighs up toward the groins, by activating your quadriceps to stretch the front leg. The glutes contract so that you open the pelvis.
3. Inhale and raise your arms parallel to the floor.
4. Exhale and extend your front arm forward as the rear hip slides back (you can leave your rear hand on the hip so that you have a better perception of the movement). Let the front hand drift down slowly until you reach your leg (if possible below your knee). Rest your hand on the leg, but don’t let your weight rest on your hand, keep the body active and stretched.
5. The shoulder blades get closer and the arms long.
6. Don’t allow your floating ribs swell. Create space on the opposite side of your torso between your hips and armpits.
7. While on the pose, keep your navel in, look to your up hand and maintain a controlled breathing rhythm.
8. To undo the pose, inhale, come to a standing position, exhale and bring your feet together in front of the mat.

What feet distance to keep on Trikonasana?
This is a valid doubt! Depending on each body, high, strength and flexibility, a reasonable distance will be different. If it’s too long, it can end up creating unnecessary tension on your ankles and wheels, losing control, support and stability and, as a consequence, collecting fewer benefits from the asana.
If the distance is too short, you’ll lose the possibility to strengthen and stretch the spine. In doubt, start with a shorter length and with time, make it longer.
Remember that it’s the asana that adapts to the body, and not the other way around.
Benefits of Trikonasana
- Strengthens your leg, foot, and neck
- Opens your hips, groins and calves
- Deepens your torso rotation
- Stimulates abdominal area
- Improves neck strength
- Improves alignment and stability
- Strengthens your spine
- Develops your notion of alignment
- Teaches patience through structure and breath
Contraindications and Cautions
- Low Blood Pressure: important to come back slowly from the pose
- Neck Problems: keep looking forward or facing down.
Improve your Trikonasana, and you’ll start mastering one of the primary most important poses of yoga.
You may also like:
- Yoga: the ultimate guide for types and benefits
- Pranayama: improve your vital energy
- Find out all about Surya Namaskar
- Abdominal breathing: how to do it and benefits associated

